Create a Connection
To create a connection, go to the snap-in area and select the Connections snap-in.
- Click the "New Connection" button under Connections at the top.
- Enter a name. The name must be unique within the project.
- Press Enter to confirm.
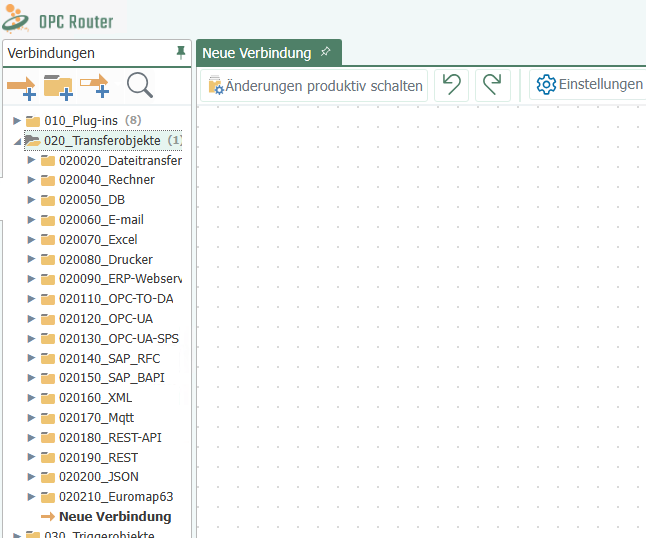
The connection is now created and open in the main window. You can open existing connections by double-clicking them in the directory tree. The currently selected item is displayed in bold in the directory tree.
If you want to create multiple similar connections, it’s better to work with templates and instances rather than creating many individual connections.
Note: You can also access the settings by right-clicking on "Local Service."
Creating Connection Groups
A connection group combines multiple connections. Connection groups can be nested as desired, similar to folders in Windows Explorer. Enabling or disabling a connection group enables or disables all contained subgroups and connections. You can also, for example, deactivate a connection group and reactivate individual connections within it (see below).
To create a connection group, go to the Connections snap-in.
- At the top, under Connections, click the “New Folder” button.
- Enter a name. The name must be unique within the project.
- Press Enter to confirm.
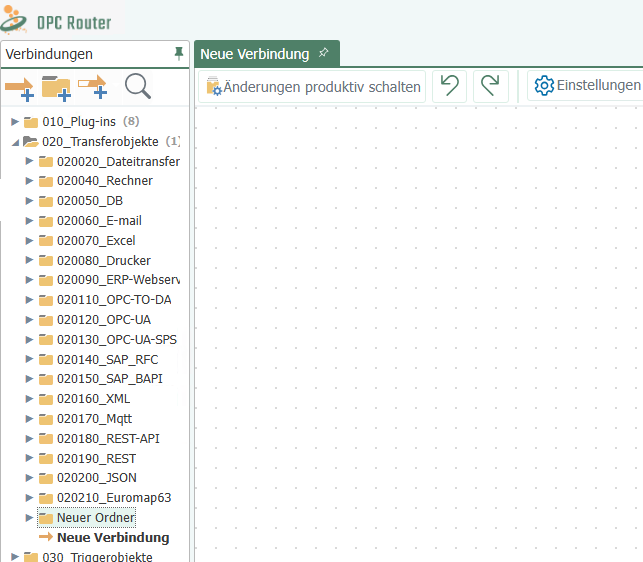
Managing Connections and Connection Groups
You can copy, delete, rename, and move connections and connection groups—again, much like files in Windows Explorer, but only one object at a time. Multiple selections are not possible here.
- Select the desired connection(s) or connection group.
- Select the desired action
- from the “Connections” menu
- from the context menu (right-click) of the corresponding connection(s) or connection group
- The following actions are available:
- Copy: You can right-click connection groups, connections, instances, and templates to “Copy” and “Paste.” For basics on this, see Working with Templates.
- Delete: Right-click on the connection, select the “Delete” action, and confirm by pressing “Enter.”
- Rename: Right-click on the connection, select the “Rename” action, and enter a new name. Confirm your entry by pressing “Enter.”
- Move: You can easily move individual connections to another folder using drag-and-drop. Entire connection groups can also be moved to other folders. Within a structure, folders are sorted alphabetically.
If you right-click on a parent folder in the tree structure and select “Show All” or “Hide All” from the menu, all subfolders and their connections will be displayed or hidden, respectively.
Pop-up Menu
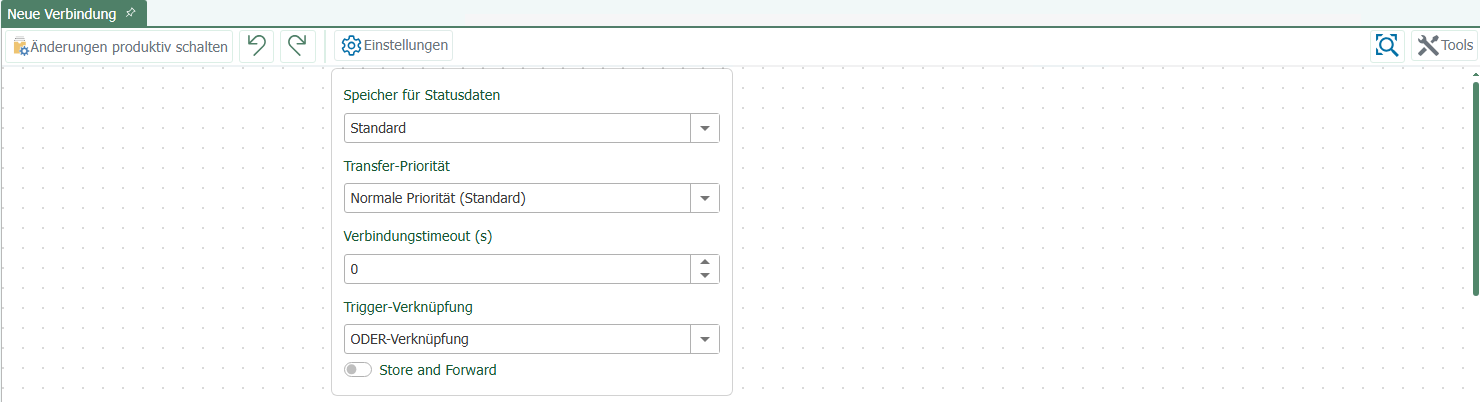
Above the connections area, you’ll find another pop-up menu:
- The “Activate Connection” button activates the selected connection.
- Use the “Trigger Link” button to specify whether your connection should use AND or OR links.
- Use the “Connection Properties” button to select the format in which the transferred values should be logged. You can also define a timeout: the time (in ms) that the connection establishment is allowed to take before a connection error is returned.
- Use the “Zoom” button to zoom in or out on your connection.
- Use the “Export View” button to export your connection as an image file or to copy it to the clipboard as an image or XML file. Images can be saved in Bitmap, PNG, JPEG, or GIF format.
- Use the “Draw Connection Arrows” button to create single or multiple connection arrows. Arrows are used to connect source and target objects. If you want to create multiple arrows at the same time, the program will attempt to connect all data points of the source and target objects in a logical manner based on their data point names. The icon changes depending on which mode you have selected.
- “Create a Single Connection”: This is the default selection. In this mode, you draw only a single connection arrow. If you hold down the “Ctrl” key and drag a connection arrow in this mode, multiple connection arrows are created at once.
- “Create Multiple Connection Arrows”: In this mode, multiple connection arrows are drawn. While drawing an arrow, only one arrow is displayed. As soon as the arrowhead is dropped on a transfer object, the remaining arrows are automatically generated. If the arrowhead points to an input transfer object item and either the source transfer object item or the destination transfer object item does not receive an automatic arrow, this arrow is also added, even if the objects do not actually match. This can be prevented by dragging the arrow to the header area of a transfer object.
- “Create Multiple Connection Arrows at Once”: Behaves like the “Create Multiple Connection Arrows” mode. After an arrow is drawn, the system reverts to “Create Single Connection” mode.
- Use the “Item Sorting” button to enable automatic sorting of the connection arrows. This causes the system to attempt to arrange the connection arrows so that they do not overlap as much as possible. This is only a display option. The items are not “actually” moved, but are simply displayed in a different position. You can therefore enable and disable this option without any concerns. This option has no effect on how the connection is processed.