Quick Start: The First Flow
This quick start guide builds a complete flow that runs without any connected external systems: A time trigger fires cyclically, a constant provides the value, and a variable transfer object stores it. All three are part of the Triggers and Transfer Objects , which are available in every flow, regardless of which plug-ins are configured. That page also explains what these two basic concepts mean: A trigger starts the flow, and a transfer object is a processing step within it.
By the end, you’ll understand the path every flow takes: design, publish, and check its status.
Preparation: Create a Variable
The flow writes to a variable, so create one first.
- In the menu, go to “Plug-ins” in the “Advanced” category and double-click the “User defined variables” plug-in.
- In the toolbar, select “New”.”
- Give it a name such as “
Temperatur,” leave the scope set to “Global”,” and select a type that matches the value the flow is about to write—for example, “Float64” for a temperature. - Confirm by clicking “OK”.”
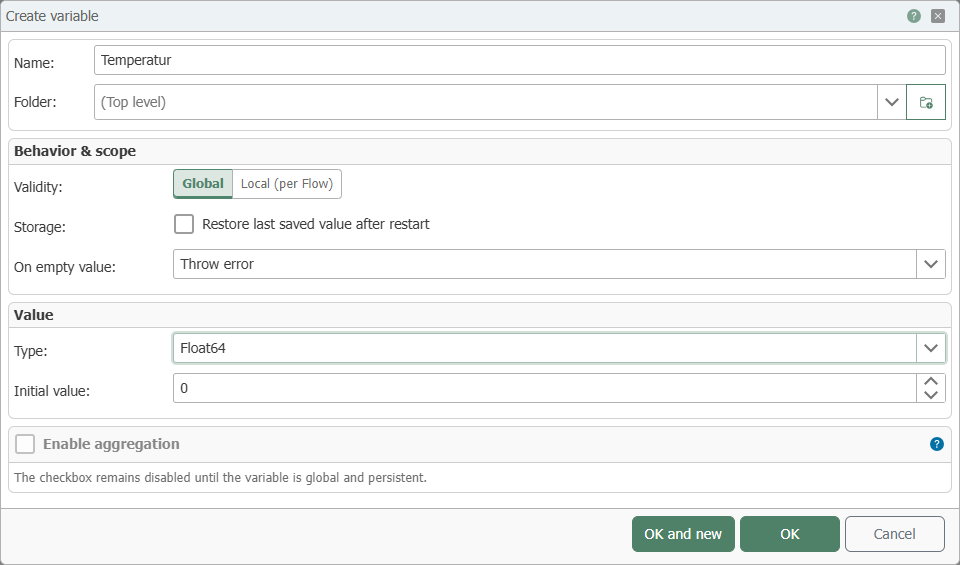
All other properties of a variable—storage, data types, initial value, aggregation—are described at Variables .
1. Create a flow
- In the snap-in bar, go to “Flows”.
- Click “New Flow” at the top, enter a name that is unique within the project, and press Enter to confirm.
The flow is now created and opens as a tab with an empty design area. For information on how to organize flows into groups, copy, rename, and move them, see “: Create a Flow” at.
2. The Source: A Constant
- From the “
Transfer Objects” tool palette on the right side of the window, drag the “Constant Values” object onto the project area. - Double-click to open it, enter a value such as “
21.5” under “Value”,” and confirm by clicking “OK”.”
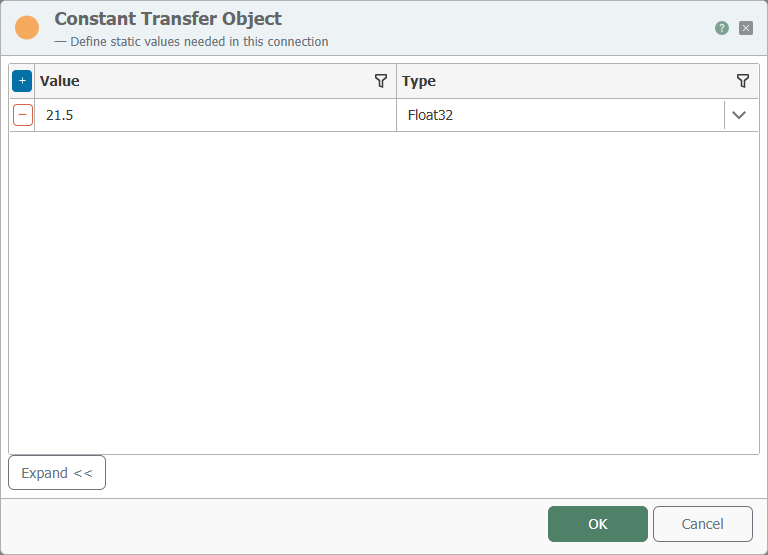
A constant is valid only within the flow in which it is defined and cannot be changed at runtime— .
3. The Target: The Variable
- Drag the variable transfer object from the tool palette onto the configuration area and double-click to open it.
- Use the variable selection to add the prepared variable and confirm by clicking “OK”.”
The variable then appears as a row in the transfer object— Variable Transfer Object .
4. Make the connection between the source and destination
Click on the constant entry, hold down the mouse button, move the pointer to the variable’s row, and release the button. The item link created in this way determines which value is transferred where; the OPC Router also uses the item links to calculate the sequence of steps—ItemLinks .
5. The Trigger: Trigger Cyclically
- Drag the Time Trigger from the tool palette onto the project area and double-click to open it.
- Enable cyclic transfer and enter a transfer interval of, for example, 10 seconds.
- Confirm by clicking “OK”.”
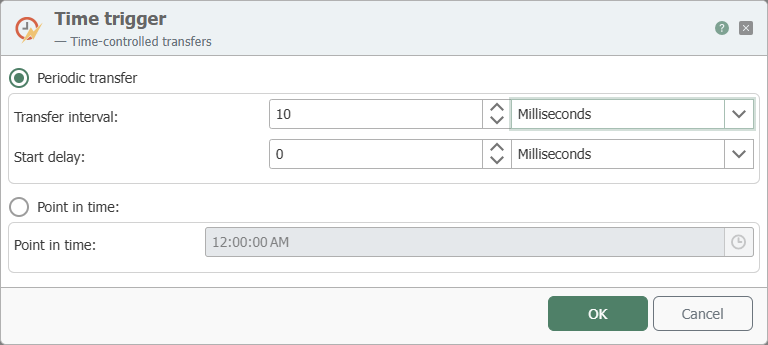
The finished flow—trigger, constant, variable, and the Item Link connecting them:
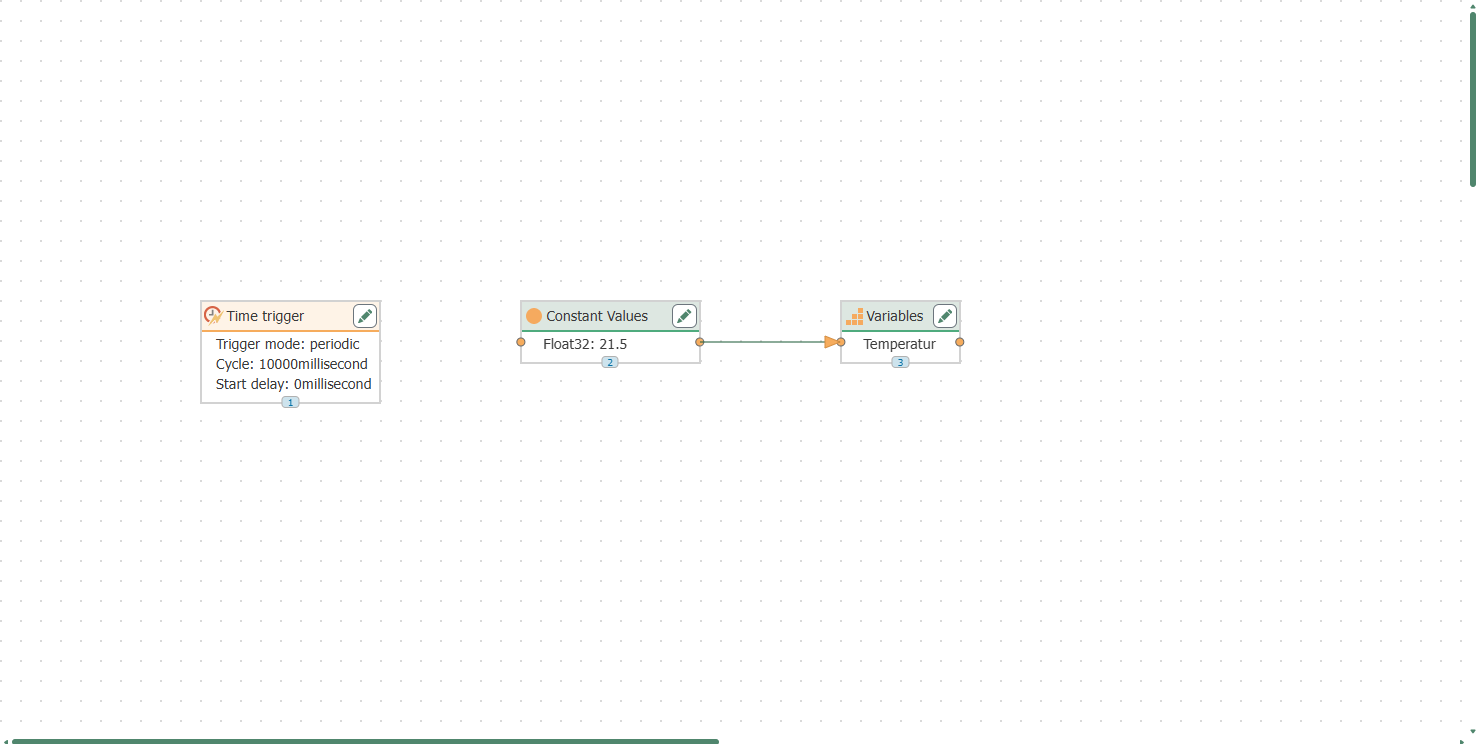
The interval is counted from the end of the last transfer; without a start delay, the first transfer takes place after a full interval has elapsed— Time-Trigger . To find out which trigger is suitable for which task, see Which trigger when .
6. Publish
Up to this point, the runtime does not recognize the flow: The flow configuration only takes effect once it is published.
- Open the “Publish” view in the top navigation bar.
- Check the box for the new flow and the variable plug-in. The tree groups pending changes by their source, so the variable is listed under the plug-ins.
- Click “Make changes productive”.”
For details on what happens during this process and what other pending changes may appear, see “: Publishing & Operations” at .
7. Check the status tree
- Open the Status pane via the snap-in bar.
- In the status tree, expand the “
Flows” node and click on your flow. - Once the interval has elapsed, green transfer points appear in the status chart. Clicking on a point displays the values transferred in the flow.
You don’t have to wait for the interval: Right-click the flow in the status tree and select “Trigger Flow” to start a transfer immediately; manually initiated transfers appear in blue on the status chart.
If the transfer point is missing or appears in red, Flow Status can help; for information on what each color in the status tree indicates, see Status Display .
Read more
- Designing a Flow – the same process using a real data source and a real data destination, step by step.
- Which Trigger to Use and When – the trigger families and which ones are suitable for what.
- How a Flow Runs – order of steps, concurrently running flows, and behavior in case of errors.
- Working with Templates – when you need to create many similar flows.
- Quick Start 2: Writing Values to a Database – the continuation: the same approach with changing measurement values, an SQLite database, and retrieving the last value.